ぶつかったらくっつく処理を実装しよう
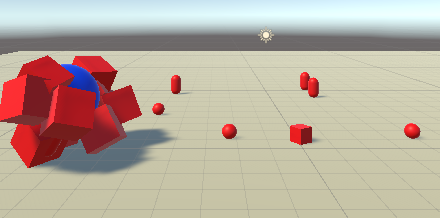
今回は塊魂みたいな感じでプレイヤーが操作するボールに他のオブジェクトが当たった時にくっついて一緒に動いていくという処理を再現していきたいと思います。
Unity Hubを開いて新しいプロジェクトをクリックし、プロジェクト名をKatamariにします。
3Dで制作していきます。
まずは床を作る
制作画面を開いたら、床となるオブジェクトを作ります。
ヒエラルキー上で右クリック→3DObject→Planeを選択して生成します。
広めにとりたいのでScaleをXYZともに5にします。
次にボールを作る
続いてはボールを作ります。
先ほどのようにヒエラルキー上で右クリック、3DObject→Sphereを作ります。
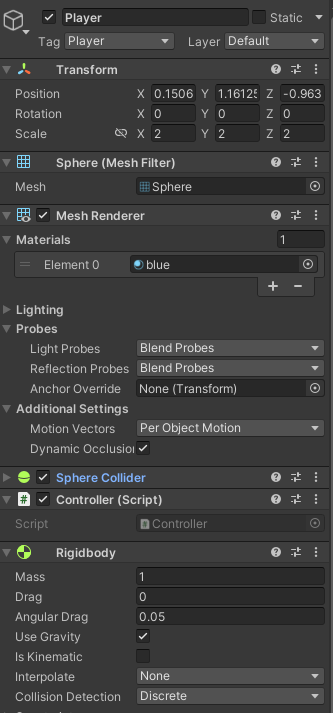
他のオブジェクトと区別がつくようにしたいので、名前をPlayerに変更します。
TagもPlayerにしてください。(のちのちスクリプトで使用します)
ScaleはXYZともに2にします。
AddComopentでRigidbodyを追加します。
Rigidbodyは物理的な挙動をさせる時に必要になります。
このままだと白い床とボールで見分けにくいので色を変えていきます。
Assetフォルダで右クリックCreate>Folderを作り、Materialと名前を付けます。
そのフォルダの下で右クリックCreate>Materialをつくります。
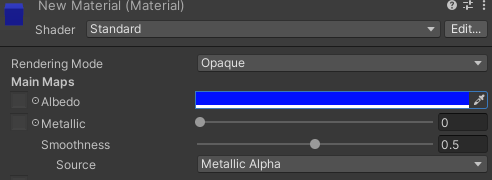
Colorを青色に変更します。
Playerのインスペクターに先ほどのマテリアルをアタッチします。
ボールを動かすスクリプトを書く
続いてボールを操作するスクリプトを書いていきます。
Assetsフォルダの中に右クリックでCreate→Folderを作ります。
名前をScriptsに変えます。
そのフォルダの中にスクリプトを置いていく感じにしていきます。
右クリック→Create→C#Scriptで作成、名前をControllerにします。
Controller
<code>
using System.Collections;
using System.Collections.Generic;
using UnityEngine;
public class Controller : MonoBehaviour
{
    Vector3 force;
    // Start is called before the first frame update
    void Start()
    {
        Rigidbody rigidbody = gameObject.GetComponent<Rigidbody>();

    }
    // Update is called once per frame
    void Update()
    {
        if (Input.GetKey(KeyCode.UpArrow))
        {
            force = new Vector3(0.0f, 0.0f, 1.0f);
            GetComponent<Rigidbody>().AddForce(force);

        }
        if (Input.GetKey(KeyCode.DownArrow))
        {
            force = new Vector3(0.0f, 0.0f, -1.0f);
            GetComponent<Rigidbody>().AddForce(force);

        }
        if (Input.GetKey(KeyCode.LeftArrow))
        {
            force = new Vector3(-1.0f, 0.0f, 0f);
            GetComponent<Rigidbody>().AddForce(force);
        }
        if (Input.GetKey(KeyCode.RightArrow))
        {
            force = new Vector3(1.0f, 0.0f, 0f);
            GetComponent<Rigidbody>().AddForce(force);
        }
    }
}
</code>
矢印キーの入力でボールを動かせるようになります。
Playerにドラッグ&ドロップでアタッチしていきます。
カメラの視点変更
カメラの視点を変更していきます。
全体を見渡せるように、上からの見下ろし視点にします。
MainCameraのインスペクターから
PositionのYを50 それ以外は0にします。
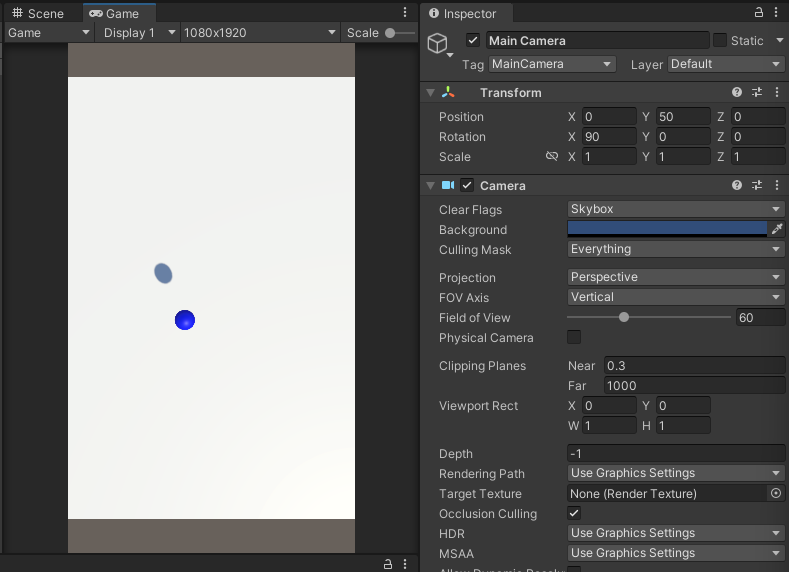
ゲームプレイのタブで確認できます。
テストプレイを行ってみましょう。
オブジェクトの追加
Materialフォルダに新しいマテリアルを作成し、色を赤色にします。
ヒエラルキー上で右クリックして、3DObject>Cubeを生成します。
先ほど作ったマテリアルをアタッチしましょう。
次にプレイヤーと当たった時に合体するスクリプトを作っていきます。
Scriptsフォルダで右クリック→Create→C#Scriptで作り、名前をUnionにします。
Union
<code>using System.Collections;
using System.Collections.Generic;
using UnityEngine;

public class Union : MonoBehaviour
{

  GameObject Player;
    Vector3 PlayerPos;
    Vector3 Distance;

    Rigidbody rb;

    Vector3 def;
    Vector3 _parent;
    Vector3 before;
    // Start is called before the first frame update
    void Start()
    {

    }

    // Update is called once per frame
    void Update()
    {
    }
    void OnCollisionEnter(Collision other)
    {
        if (other.gameObject.tag == "Player")
        {
           PlayerPos = other.transform.position;

            Distance = transform.position - PlayerPos;
            Distance = Distance * 0.7f;
            transform.position = PlayerPos+Distance;

            this.transform.parent = other.transform;
            rb = GetComponent<Rigidbody>();
            Destroy(rb);
        }
    }
}
</code>
OnCollisionEnterがあると他のColliderやRigidbodyを持つオブジェクトとぶつかった時に処理を行うことができます。
PlayerPosという変数にぶつかった時点でのプレイヤーの座標を代入します。
そしてこのスクリプトを読み込ませているオブジェクトとプレイヤーの座標の差を計算します。
そしてその差に0.7をかけることでボールの中にめりこんでいるような表現にしてみました。
<code>   void OnCollisionEnter(Collision other)
    {
        if (other.gameObject.tag == "Player")
        {
 	    this.transform.parent = other.transform;
            rb = GetComponent();
            Destroy(rb);
        }
   }
</code>
だけでも十分動きます。
UnionをCubeに読み込ませまたあと、Ctrl+Dで複製しましょう。
テストプレイを行ってみましょう。
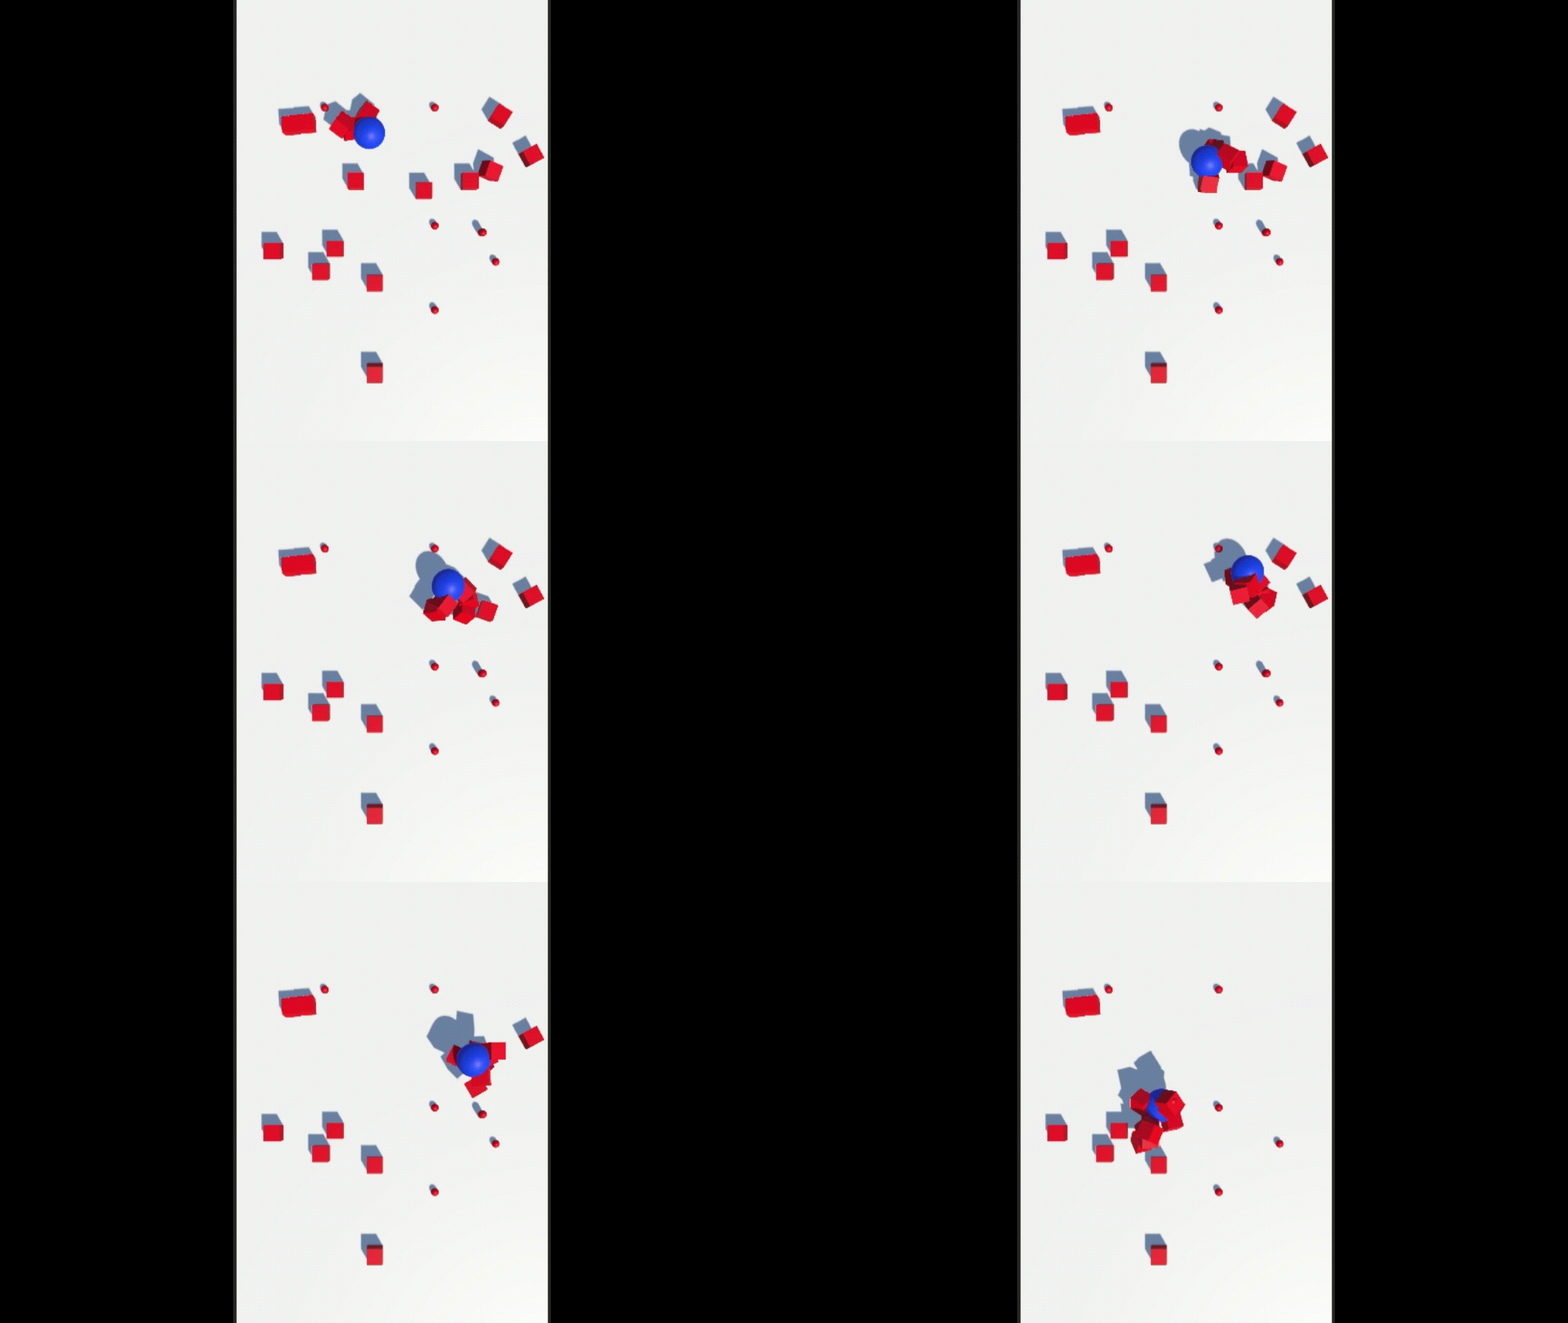
ぶつかった時に巻き込んでいけるようになっていれば成功です。

コメント